Tempo necessário:3h 30min
Dificuldade:Fácil
O estéreo de 4ª geração 1500 da Ram era decente na época. Onde a 3ª geração tinha um par de 6x9s na frente e coaxiais de 6,5″ na traseira, a 4ª geração veio com um sistema de 6 alto-falantes. Este sistema de 6 alto-falantes é composto por dois pares de alto-falantes de 6 × 9 polegadas nas portas dianteiras e traseiras, juntamente com um par de alto-falantes de 3 1/2 polegadas no painel.
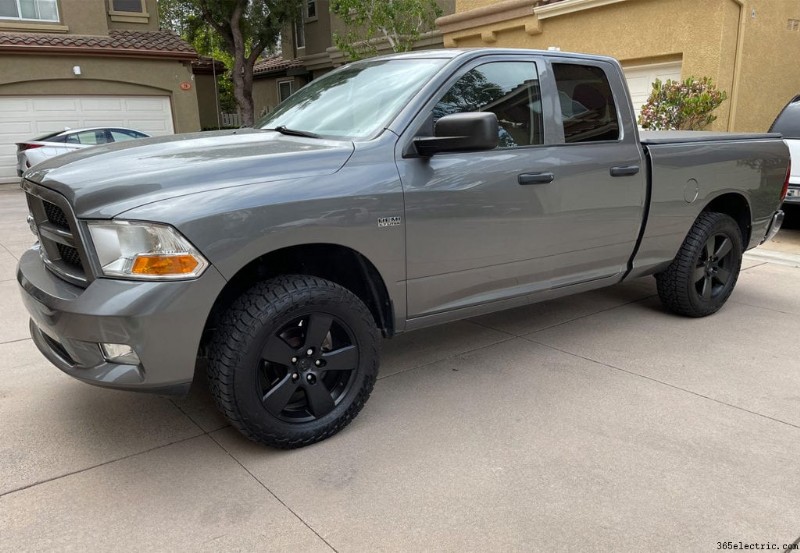
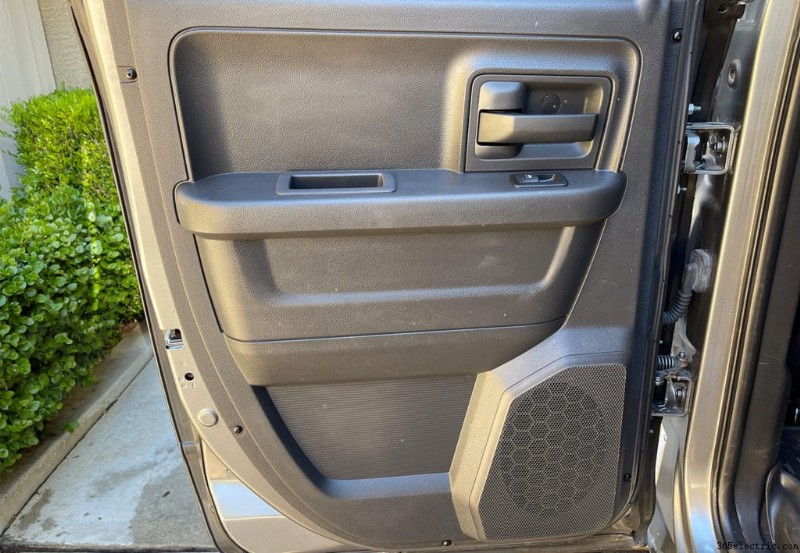
No artigo de hoje, atualizarei os alto-falantes das portas dianteiras e traseiras em um Ram 1500 Express Quad Cab de 4ª geração de 2012. Eu já atualizei o estéreo e instalei um subwoofer sob o assento, o que o tornou um ótimo candidato a um bom par de alto-falantes. Estarei usando a nova linha de alto-falantes Mobile ES da Sony para a atualização. Aqui está uma olhada no caminhão.
Se o seu alto-falante está danificado ou você quer apenas uma atualização sólida para mais volume e clareza, o processo de instalação é o mesmo. No final do artigo, você deve ter tudo o que precisa para saber como instalar alto-falantes atualizados ou de substituição nos painéis das portas do seu Ram.
Peças e ferramentas necessárias
Ferramentas:
- Chave de fenda Philips e cabeça chata
- T-20 Torx ou chave de fenda
- Soquete e catraca de 5 mm
- Ferramenta de alavanca de painel de plástico
- Ferramenta de alavanca de clipe de plástico
- Faca para drywall
- Ferro de solda e solda (verifique a etapa 3 para ver se você precisa)
Peças:
- alto-falantes de 6×9″ (2 pares se você estiver fazendo frente e trás)
- Metra 72-6514 (opcional dependendo da etapa 3)
- Fio do alto-falante (verifique a etapa 3 para ver se precisa)
Como substituir os alto-falantes da porta dianteira
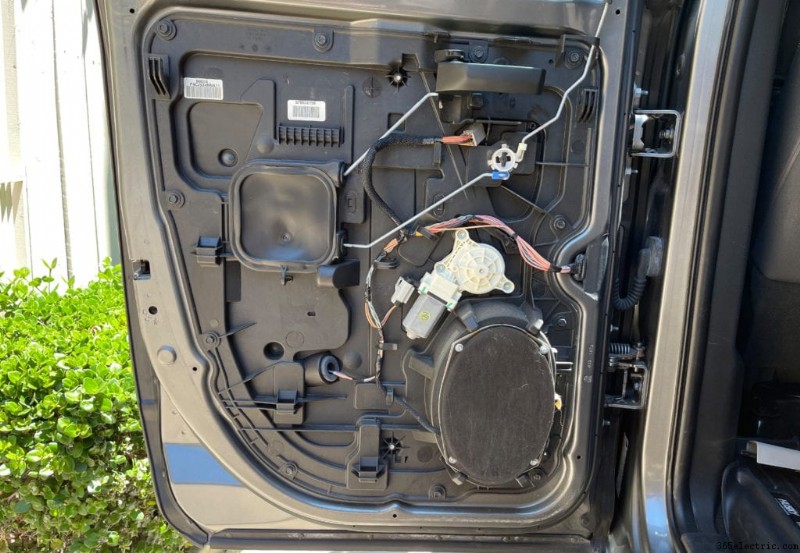
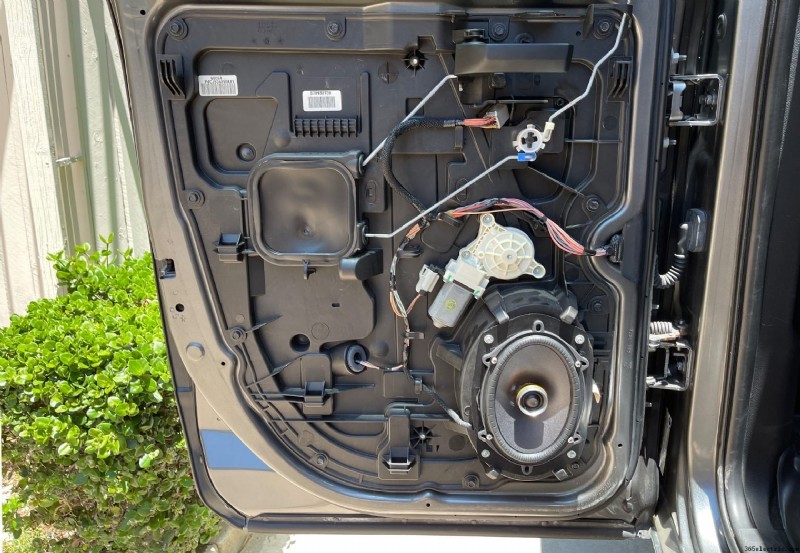
O primeiro lugar que comecei neste caminhão foram os alto-falantes da porta da frente. Para acessar os alto-falantes, você precisará remover o painel da porta primeiro. É bem direto e rápido.
Etapa 1:remova o painel da porta
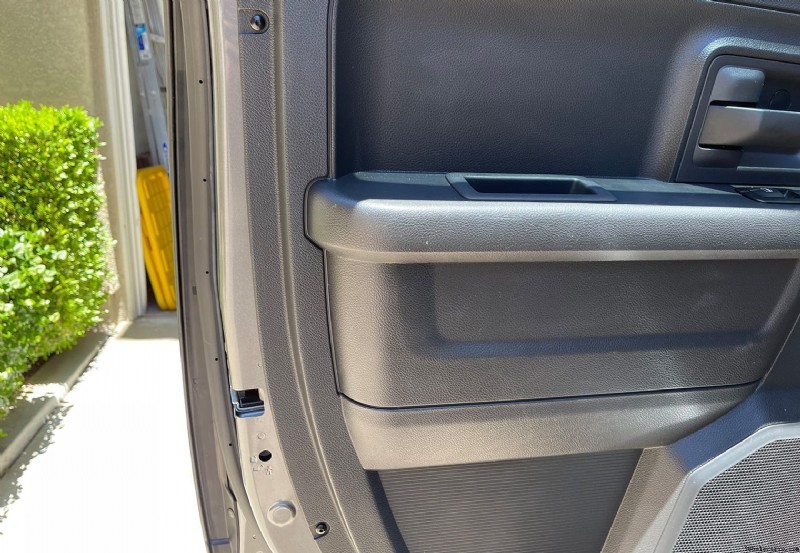
Os painéis das portas dianteiras têm um total de 6 clipes de parafuso que você precisará de uma broca T-20 torx para desparafusar e depois retirar. Há dois à esquerda, dois na parte inferior e dois à direita. Remova todos esses clipes e coloque-os em um local seguro.
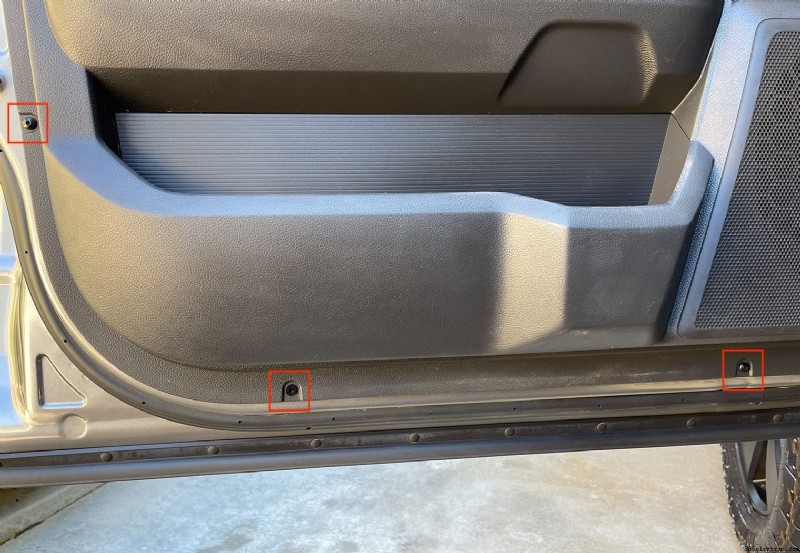
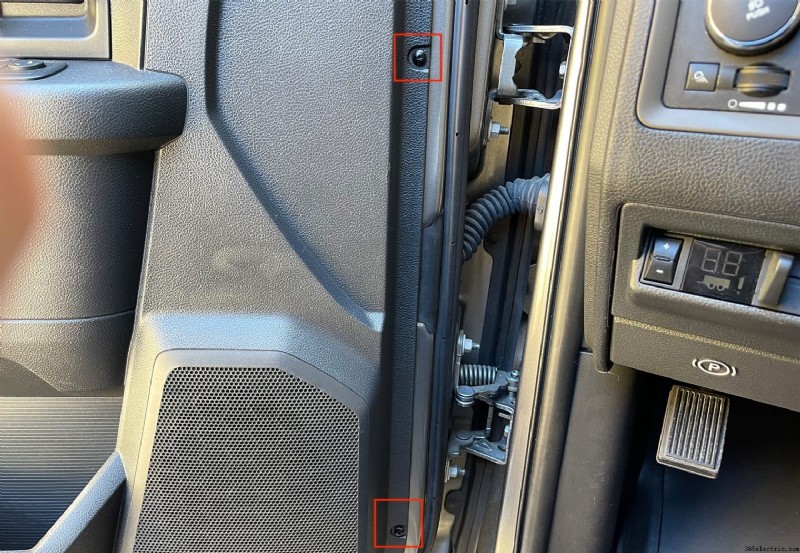

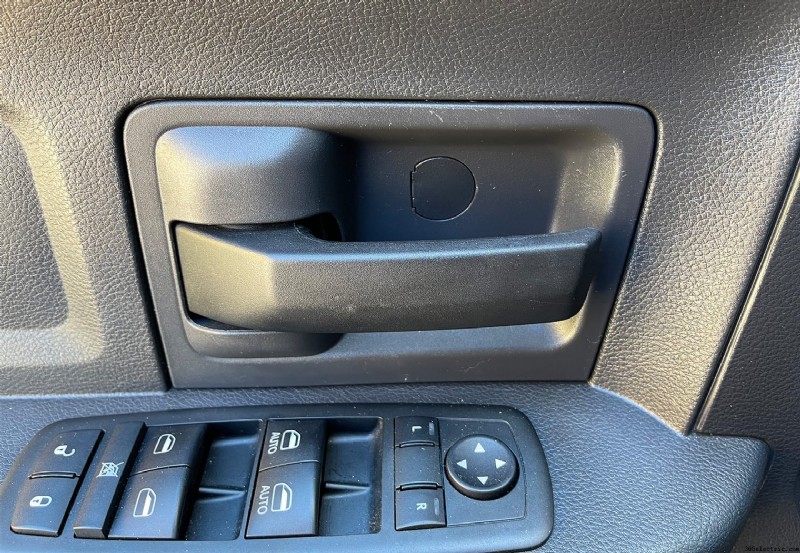
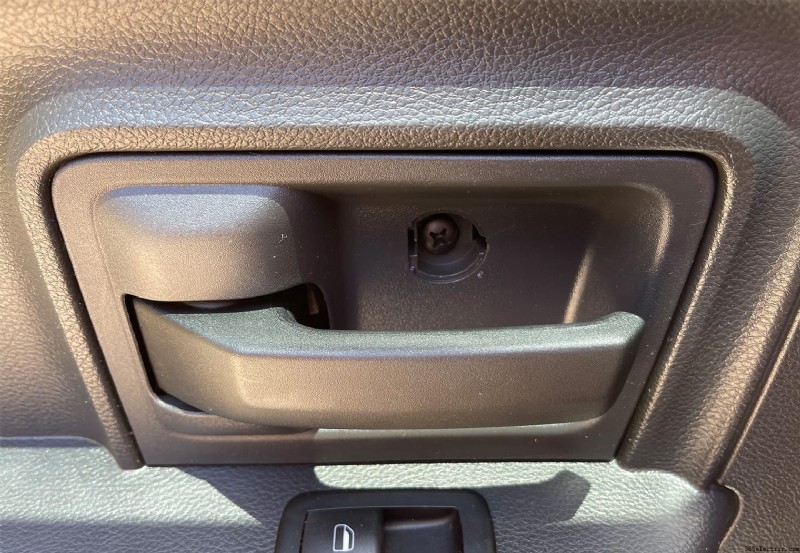
Em seguida, você precisará remover o único parafuso phillips localizado atrás da alça. Usando uma pequena cabeça chata, remova a tampa do parafuso localizada diretamente atrás da alça e, usando uma chave de fenda phillips grande, remova o parafuso. Depois de remover o parafuso, puxe o pequeno painel que envolve a alça.

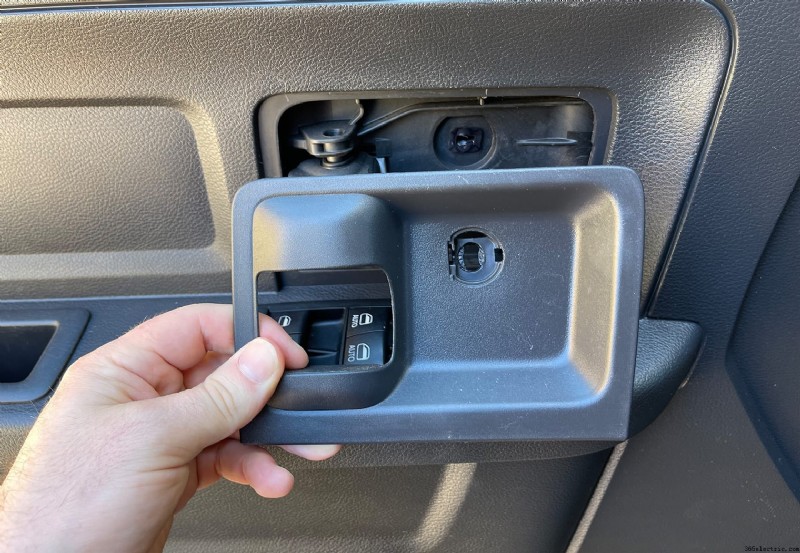
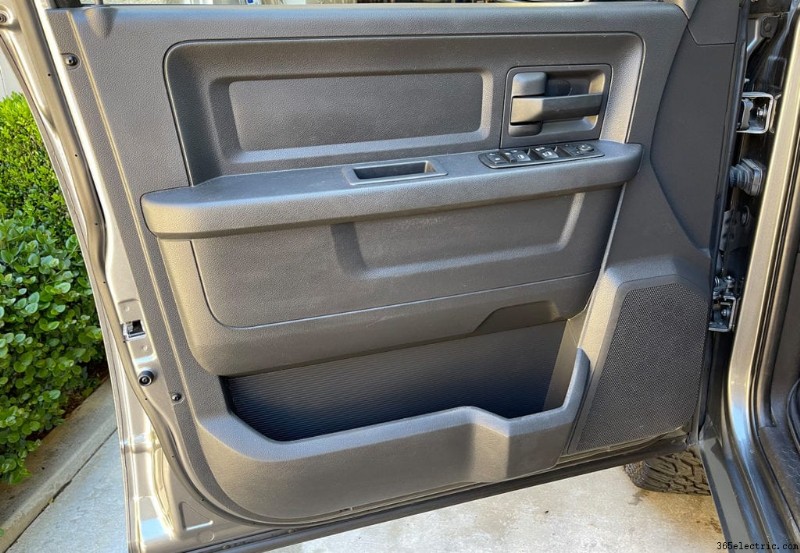
Com todos os parafusos removidos do painel agora, você precisará soltar a peça de acabamento na parte superior e interna da porta. Faça isso puxando para fora a parte superior deste painel e todo o painel será facilmente removido.
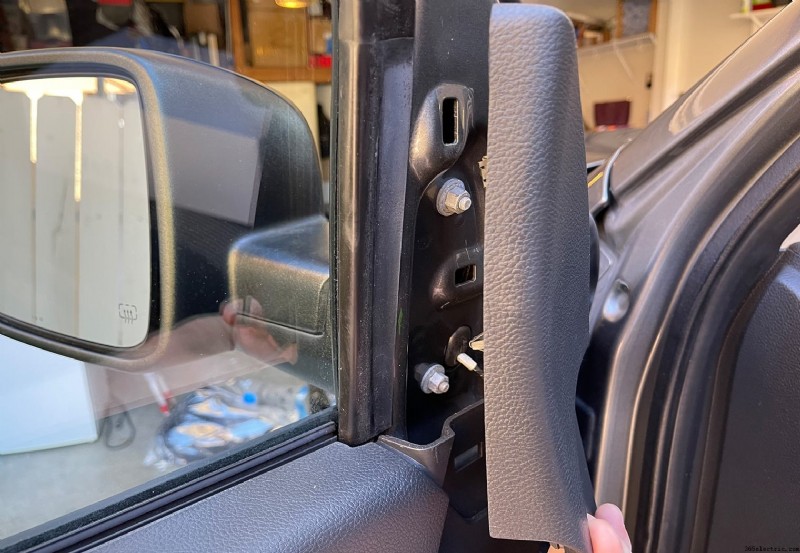
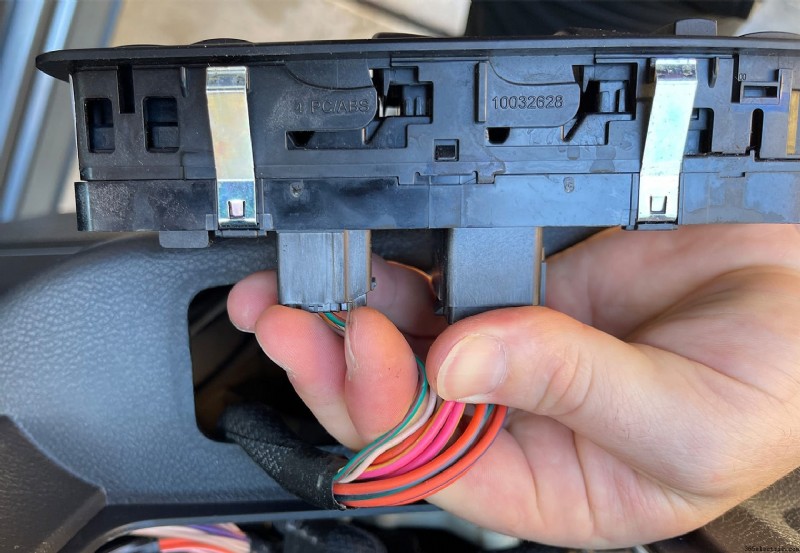
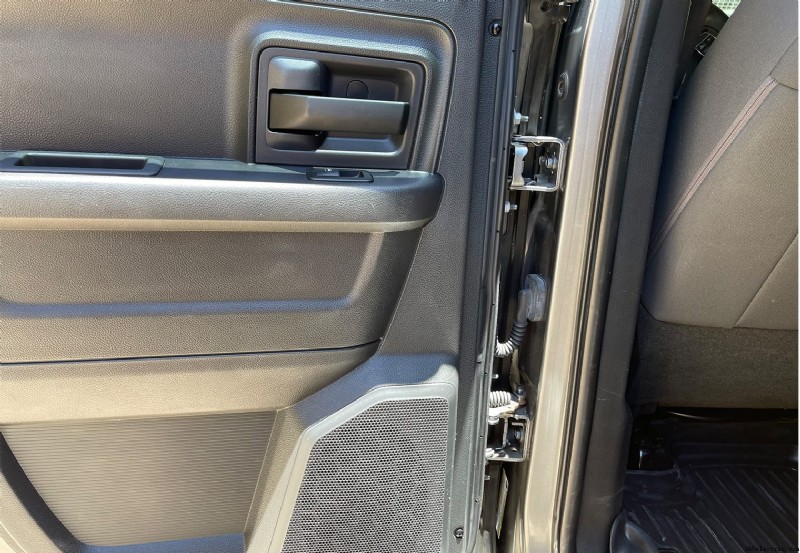
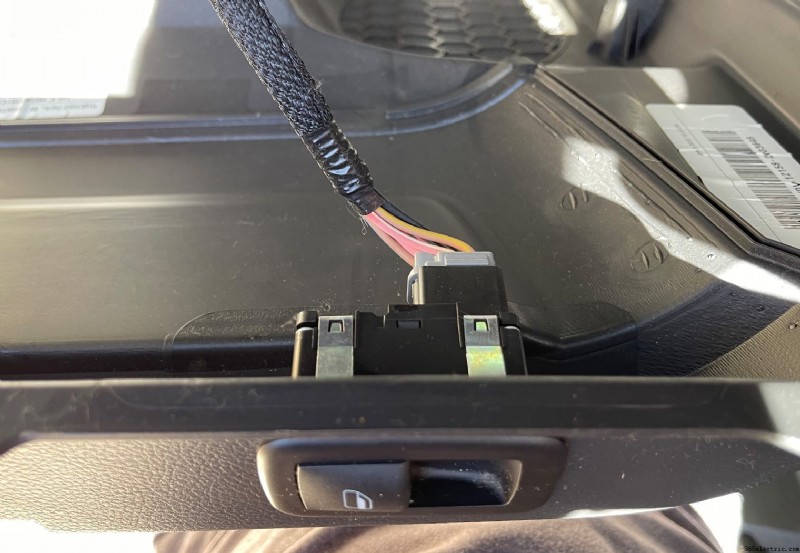
Agora, você pode começar a remover o painel da porta nesta etapa ou remover o painel de controle da janela/trava e desconectá-lo primeiro. Eu removi o painel da porta primeiro e depois soltei o painel de controle na porta, mas a escolha é sua.
Para remover o painel da porta neste ponto, basta levantar o painel para cima e depois para fora. Mais uma vez, soltei o painel de controle depois, então as fotos abaixo mostram isso. Mas você também pode usar sua ferramenta de alavanca para soltar o painel de controle da janela, desconectá-lo e remover o painel da porta.
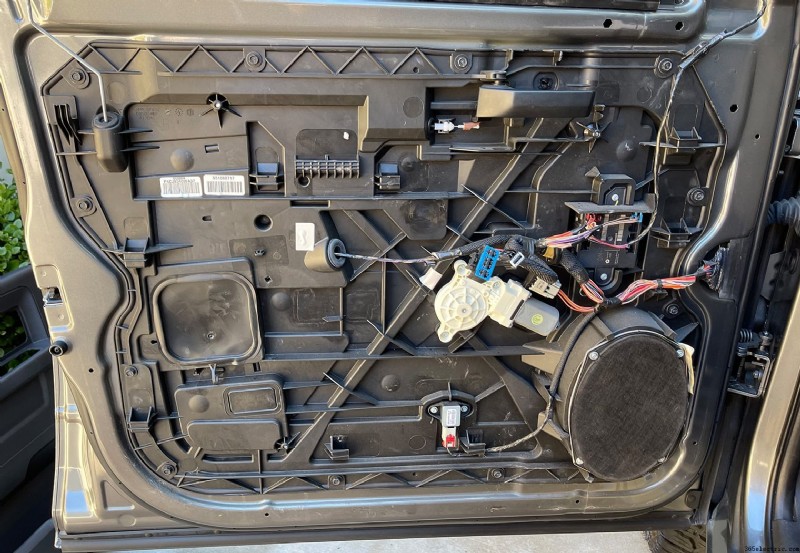
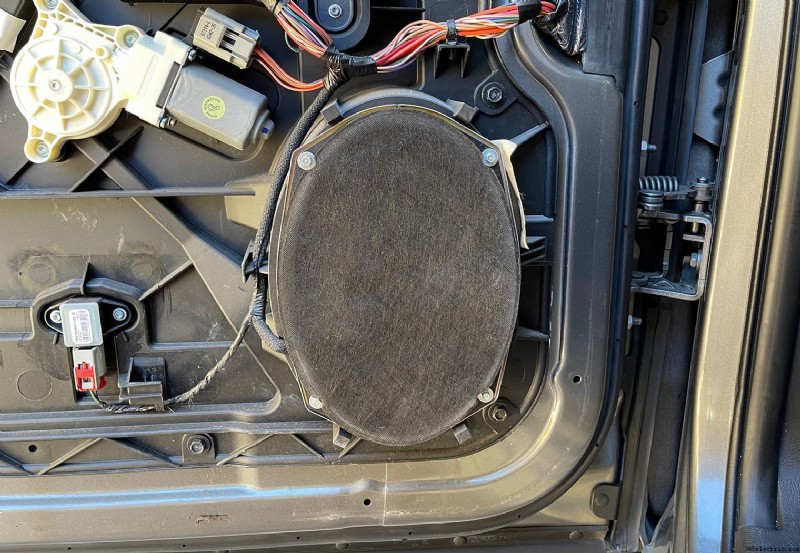
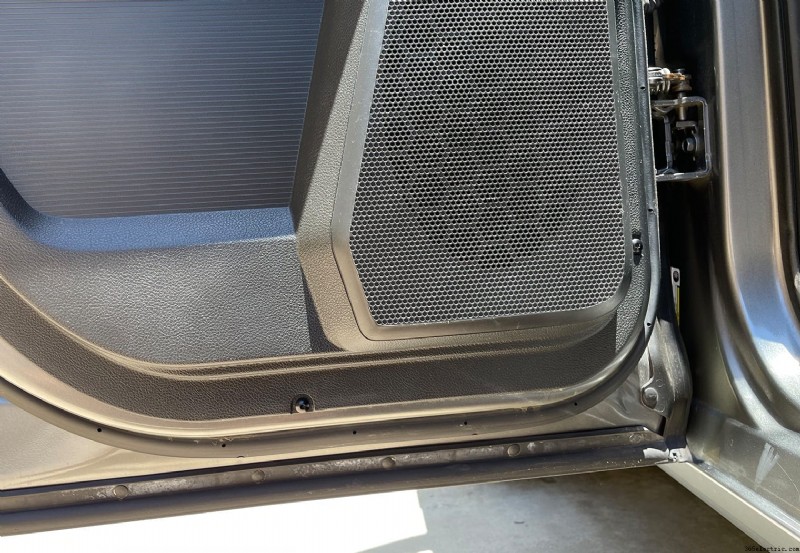
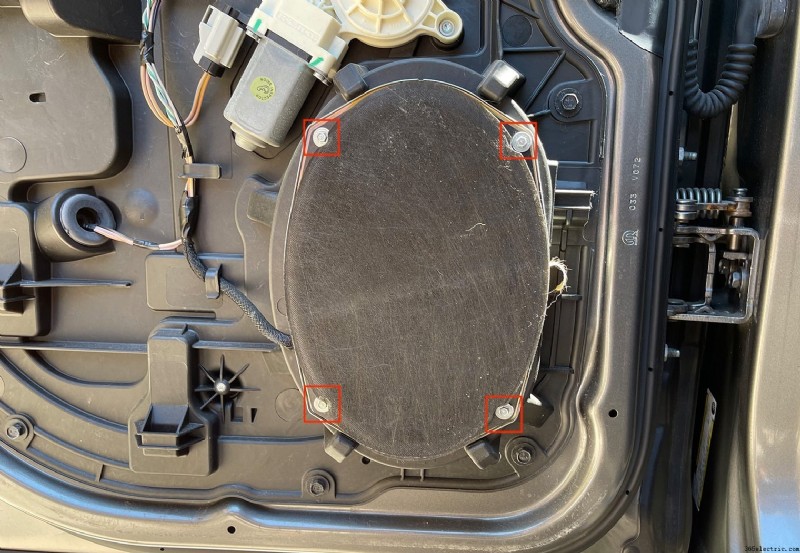
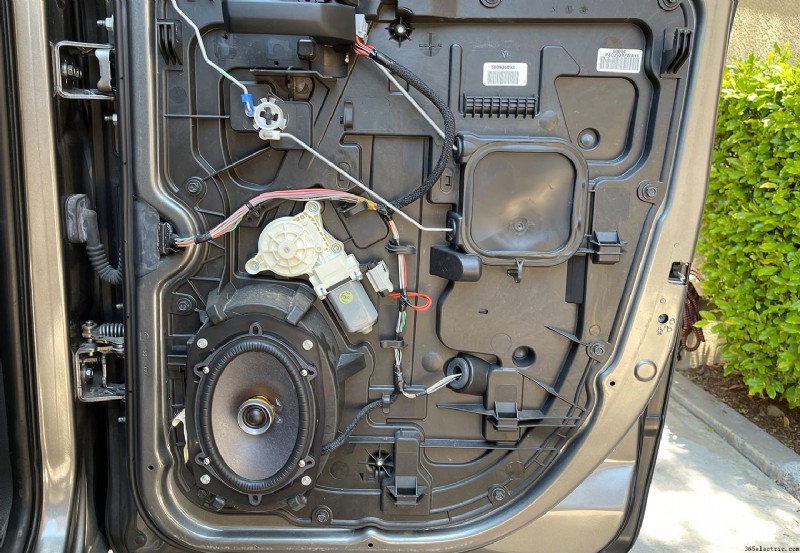
Etapa 2:remova o alto-falante
Esta é a parte mais fácil deste processo. O alto-falante da porta é fixado com 4 parafusos. Eu usei um soquete de 5 mm para remover os parafusos (mesmo que seja provavelmente um tamanho padrão). Remova os parafusos, então o alto-falante sairá facilmente. Desconecte o alto-falante e remova-o completamente do veículo.
Etapa 3:preparando novos palestrantes
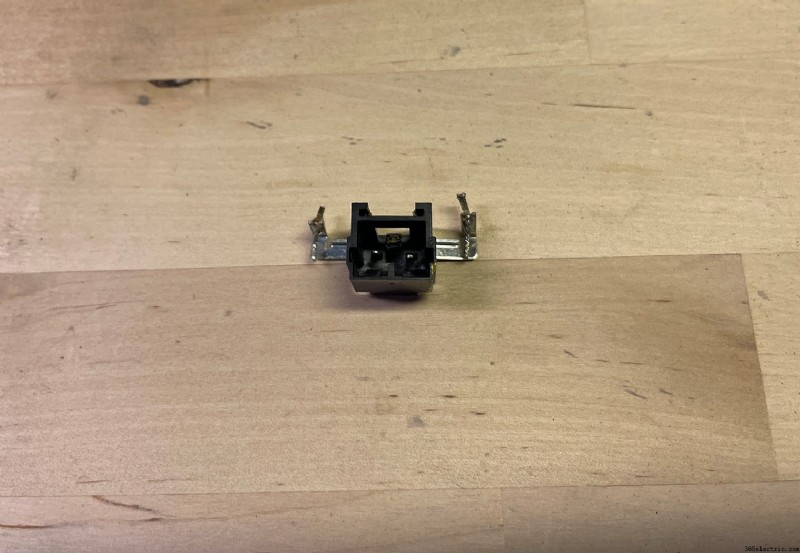
Esta etapa é opcional e pode ser feita de algumas maneiras diferentes. Pessoalmente, sempre gosto de reutilizar os clipes de alto-falante existentes para criar um adaptador para os novos alto-falantes. Se você também quiser economizar US $ 15, esta é uma boa maneira de fazê-lo. A alternativa é comprar o 77-6514 da Metra (um conjunto por par de alto-falantes). Se você optar por usar os adaptadores Metra, não precisará de fio de alto-falante, ferro de solda ou solda listado na seção Peças e ferramentas e pode pular para a Etapa 4.
De qualquer forma, se você construir o seu próprio como eu fiz ou comprá-los, os adaptadores permitirão que os novos alto-falantes sejam plug and play. Você não precisa se preocupar em soldar o alto-falante na porta ou conectar o novo alto-falante com espaço limitado na porta.
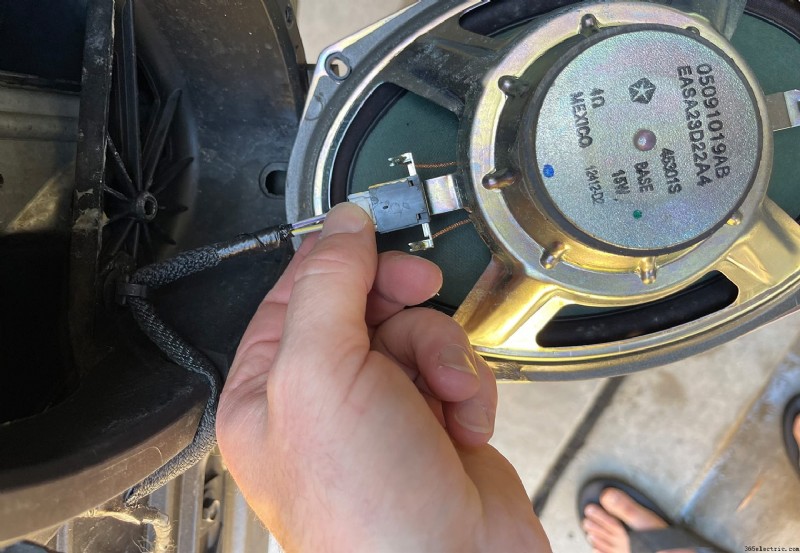
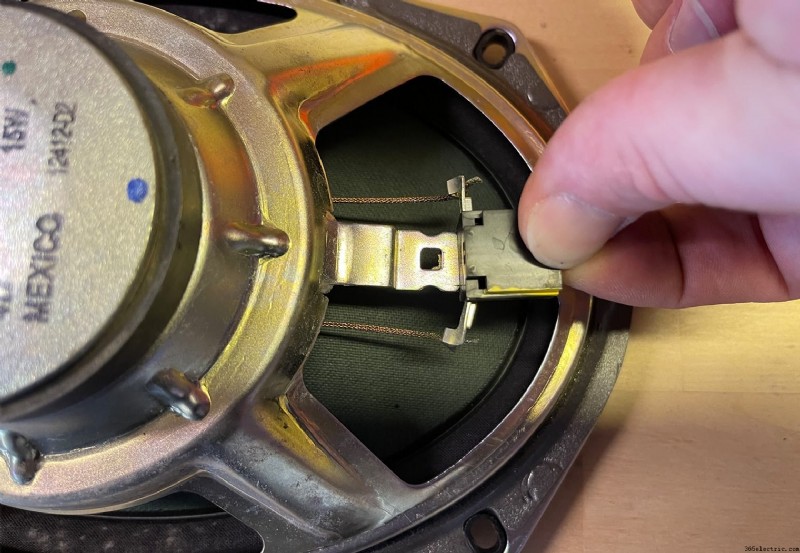
Para criar seus adaptadores, a primeira coisa que você precisa fazer é cortar os fios na parte de trás do plugue que está no alto-falante (não na porta!) e, em seguida, use uma chave de fenda para soltar o plugue do quadro do falante.
Com o plugue removido, agora você precisa descobrir qual lado do plugue é positivo e qual lado é negativo para saber como conectá-lo ao seu novo alto-falante. Para fazer isso, leve o plugue removido de volta ao painel da porta e conecte-o. Em seguida, use as seguintes cores de fio para identificar qual lado do plugue é positivo e qual lado é negativo:
- Fio do alto-falante dianteiro esquerdo (+):cinza/violeta
- Fio do alto-falante dianteiro esquerdo (-):cinza/amarelo
- Fio do alto-falante frontal direito (+):verde escuro/violeta
- Fio do alto-falante frontal direito (-):verde escuro/amarelo
Marque o lado positivo para que você possa conectá-lo corretamente ao seu novo alto-falante. No meu caso, o plugue já estava marcado no lado positivo por meio de um marcador amarelo. O seu pode ou não ser. Com seu plugue marcado, agora você pode começar a preparar e conectar o plugue ao seu novo alto-falante.
Para fazer isso, use um ferro de solda para remover o fio do alto-falante antigo e estanhe o plugue com uma nova solda. Em seguida, usando um fio de 2-3″, solde os fios positivo e negativo no plugue.
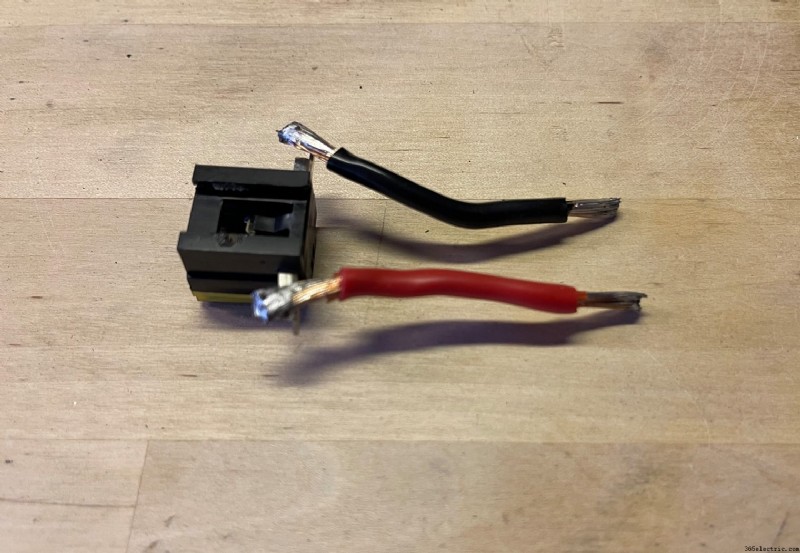
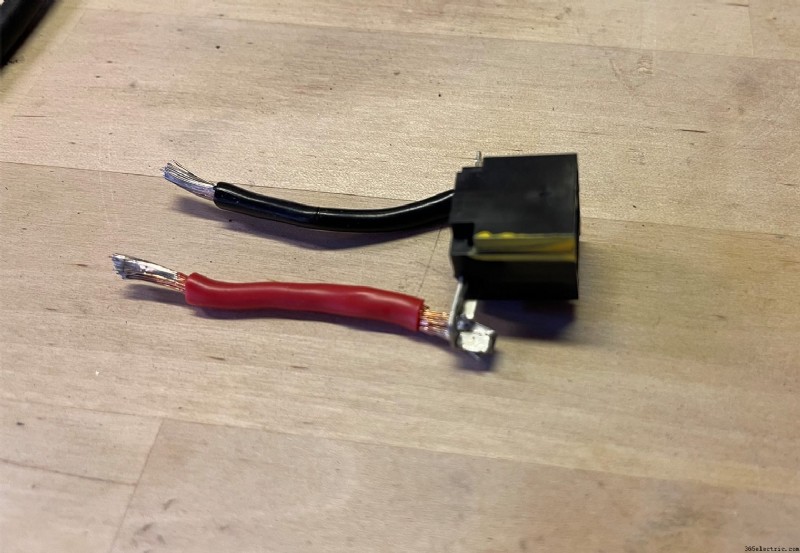
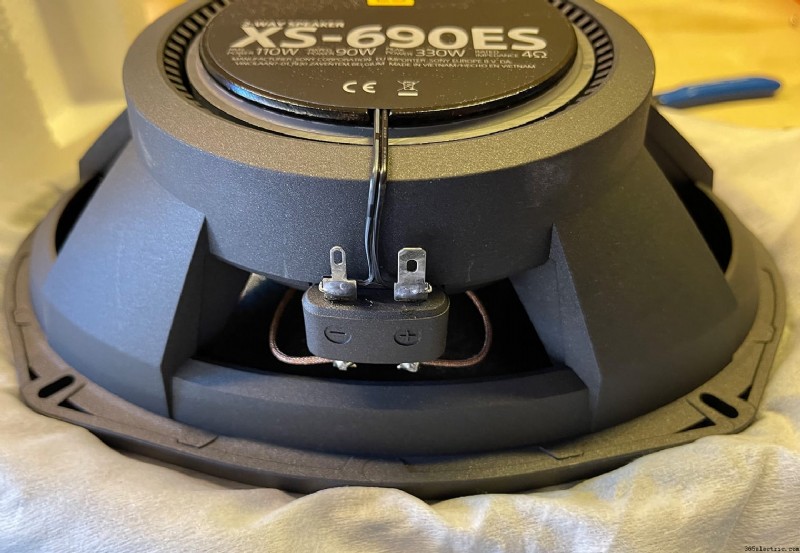
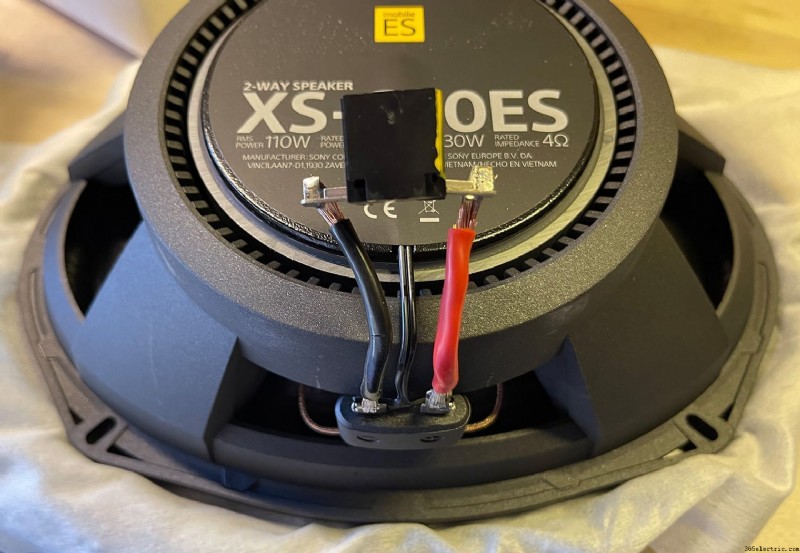
Depois de preparar o plugue do alto-falante, você o conectará aos terminais do alto-falante. Eu fiz isso soldando-o diretamente nos terminais do alto-falante da Sony que eu estava usando.
Você vai querer fazer isso com todos os alto-falantes que estiver instalando de uma só vez, provavelmente para aproveitar ao máximo seu tempo.
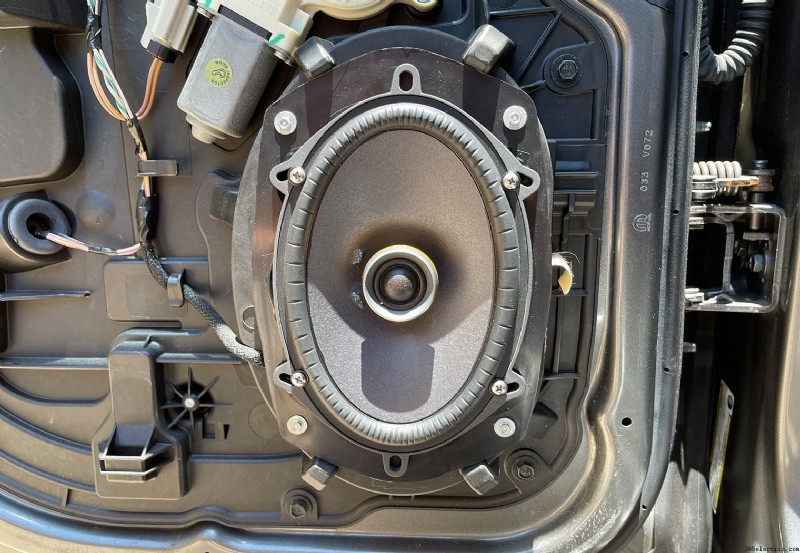
Etapa 4:instale os novos alto-falantes
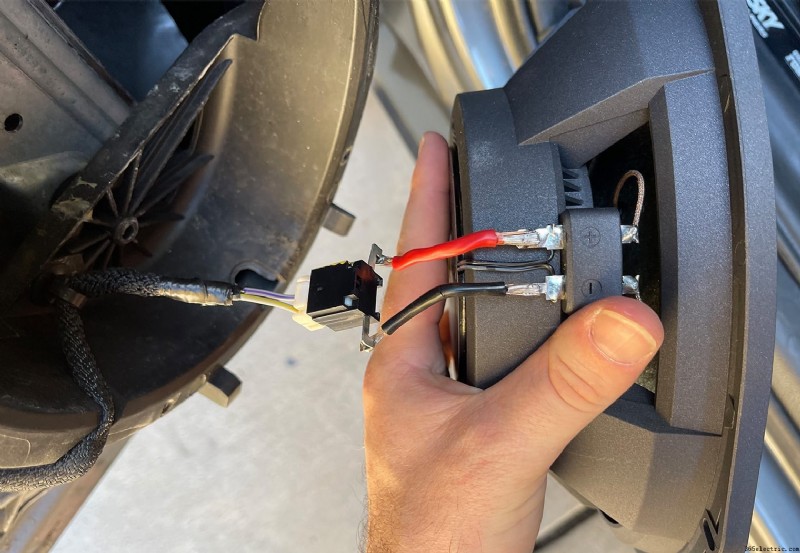
Com seus alto-falantes preparados, a instalação é tão simples quanto a remoção da maioria dos alto-falantes. Você simplesmente conectará seu novo alto-falante e o parafusará novamente.
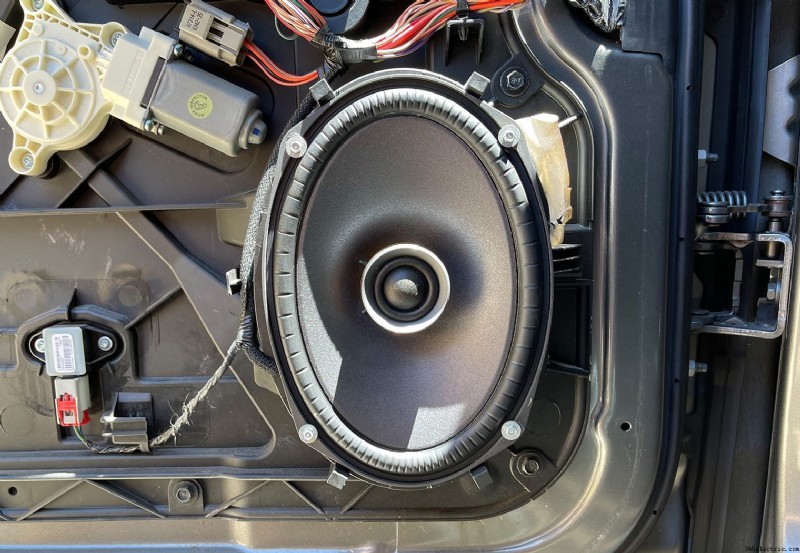
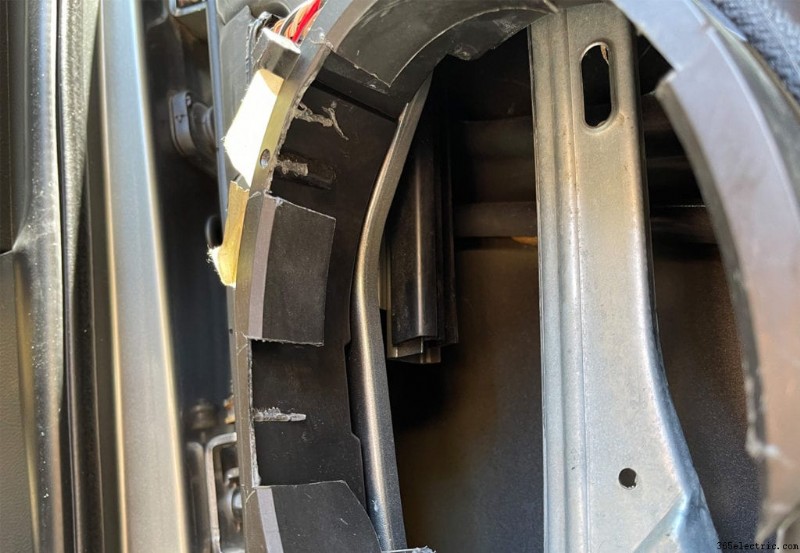
No entanto, se você decidir instalar o Sony XS-690ES 6x9s que eu escolhi instalar, você precisará modificar a montagem do painel da porta para caber ao redor da caixa de cinco feixes. Isso não é típico, no entanto, esses alto-falantes não são como todos os alto-falantes e têm um quadro maior do que a maioria.
Se você não quiser passar por esse processo, pode dar uma olhada em algumas alternativas de alto-falantes listadas em nosso melhor guia de compra de alto-falantes 6 × 9. Most speakers will not have a deep and wide frame like these Sonys and should just slide right in. The end product should look something like this!

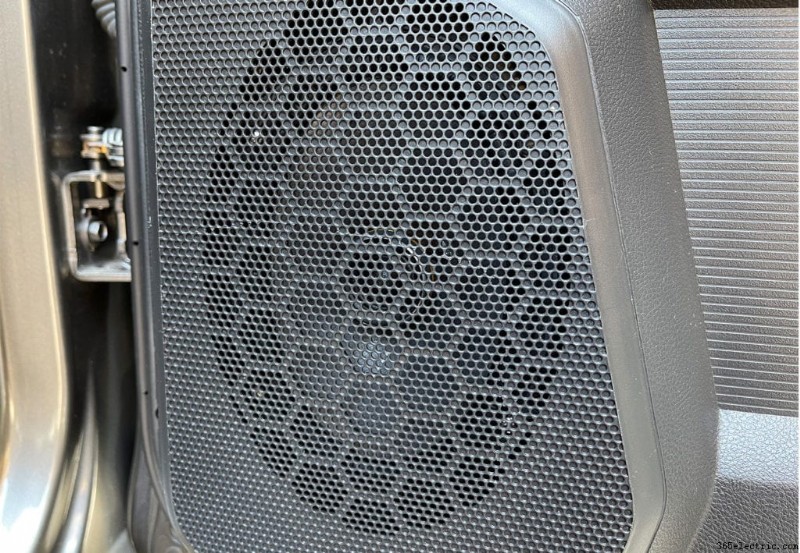
Step 5:Re-Install Door Panel
With your speakers installed, turn on your stereo first to test out the sound of your speakers and ensure that everything is working as expected. If everything sounds good, re-install the door panels in the reverse order as described in step 1.
How to Replace the Rear Door Speakers
The process for changing out the rear door speakers is nearly identical to the fronts that I walked through above. The only difference is really the door panel but the process is the exact same. I'll go through the rear doors here with a little more brevity than I did the fronts.
Step 1:Remove the Door Panel
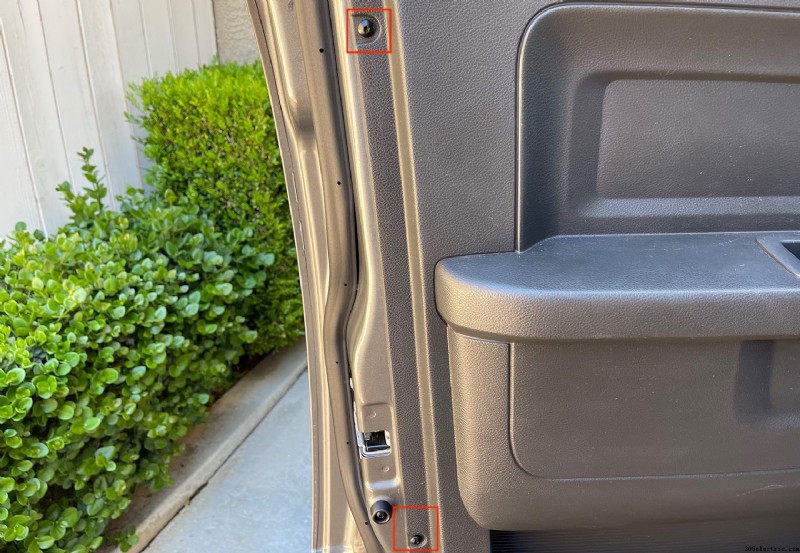
On the rear doors of this quad cab there were 5 torx screw clips (vs the 6 in the front door panel). Remove these 5 clips using a T-20 torx bit and a clip puller or prying tool.
With these clips removed, locate and remove the phillips screw that's behind the door handle. Remove the cover first to expose the screw using a small flathead then remove the screw. With the screw removed, you'll then remove the trim piece that surrounds the handle.

Next, remove and unplug the window control. You can do this either now or after you lift the door panel off the door. Você decide.
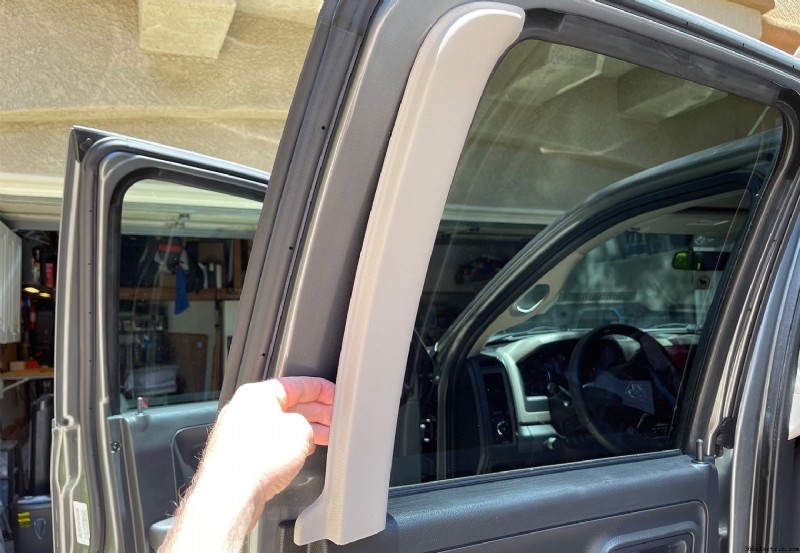
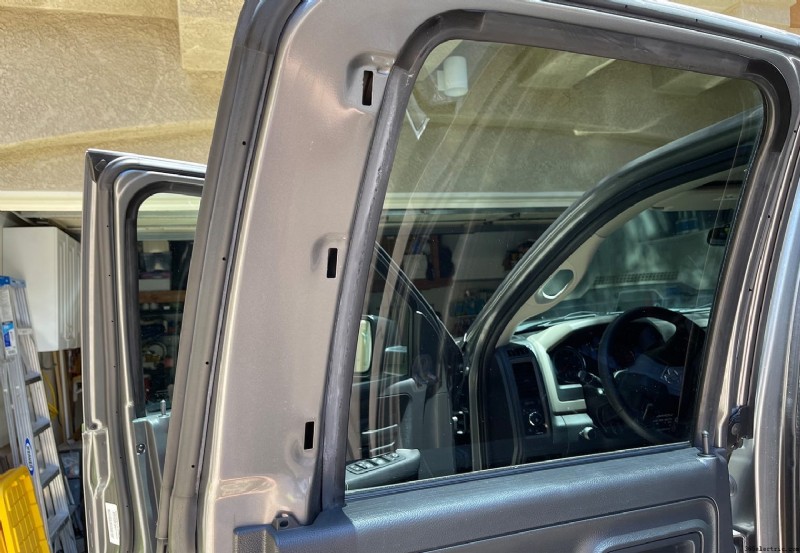
Finally, remove the trim piece that's above the panel on the outer edge of the door by simply pulling on it. It will unclip and remove relatively easily. Set it aside in a safe spot.
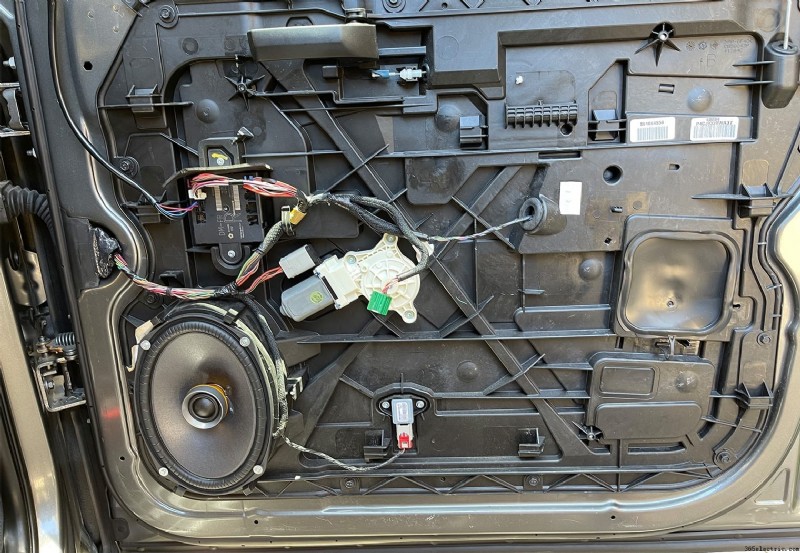
At this point, you can remove the door panel. Do this by simply lifting upwards and outwards on the door panel and it should lift right off. There should not be any additional clips or screws holding the panel to the door. This will expose the speaker and underlying door components.
Step 2:Remove the Speaker
Like the front door speakers, the rear door speakers are 6x9s and held into place by four screws. I used a 5mm socket to remove the screws. Once the screws are removed you can begin to remove the speaker from the door panel and unplug it from the harness.
Step 3:Prepping New Speakers
Please follow the steps in Step 3 of the Front Door Speakers. The only difference will be the wiring colors you'll use to match the positive and negative side of your OEM plug to your new speaker terminals (if you choose to wire them yourself). If you are using Metra's 77-6514, then you can simply connect the adapters to the speaker terminals on your new speakers and proceed to step 4.
For reference, the speaker colors on the rear doors are as follows:
- Rear Left Speaker Wire (+):Gray/Dark Green
- Rear Left Speaker Wire (-):Gray/Light Green
- Rear Right Speaker Wire (+):Dark Green/Gray
- Rear Right Speaker Wire (-):Dark Green/Light Green
Step 4:Install the New Speakers
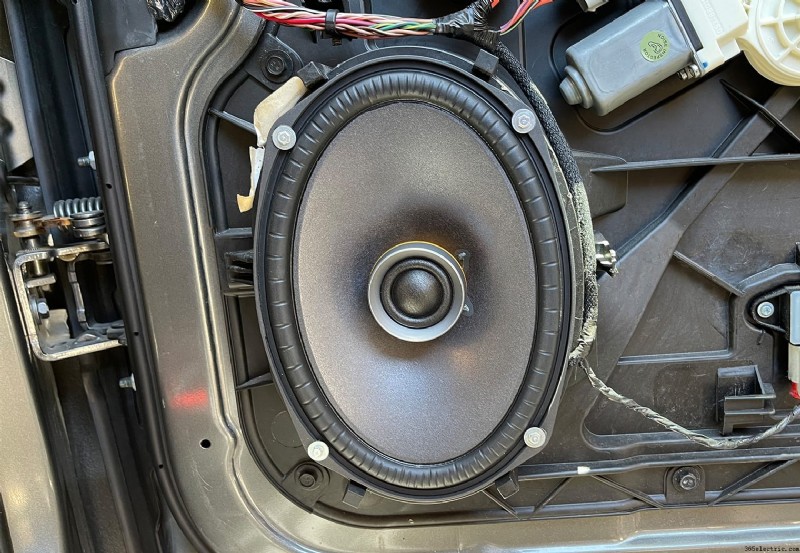
With your new speakers prepped with their plug, you can now simply plug them into the OEM harness and screw the new speakers back in. In the images below, I actually used Sony's 6×8 speakers instead of 6x9s using a speaker adapter plate to mount them. If your installing 6x9s you'll simply screw them directly into the OEM mounting position.
If you decide to install the Sony XS-690ES 6x9s in the rear, just like I mentioned while installing them in the front door panels above, you'll have to alter the OEM mounting in order to fit the five-beam structure into the OEM mounting position by cutting out slots for the beams. This won't be necessary for most other 6×9 inch speakers.
And if, for some reason, you want to use a 6×8 you'll need cut out the adapter plate and mount the 6×8 speaker to the plate. Then, you can install the speaker in the 6×9 location. My recommendation would be to just purchase a 6×9 if you haven't already. But, if you have 6x8s handy like I did, here's what the added step looks like.
First, cut out the adapter plate to fit the 6×8 speaker. Then use the rear mounting plate that your speaker came with to mount the speaker to the plate. These adapter plates will adapt a 6×9 to a 6×8, 5×7 or a 6.5″ speaker so you need to cut it out to fit a 6×8 specifically.
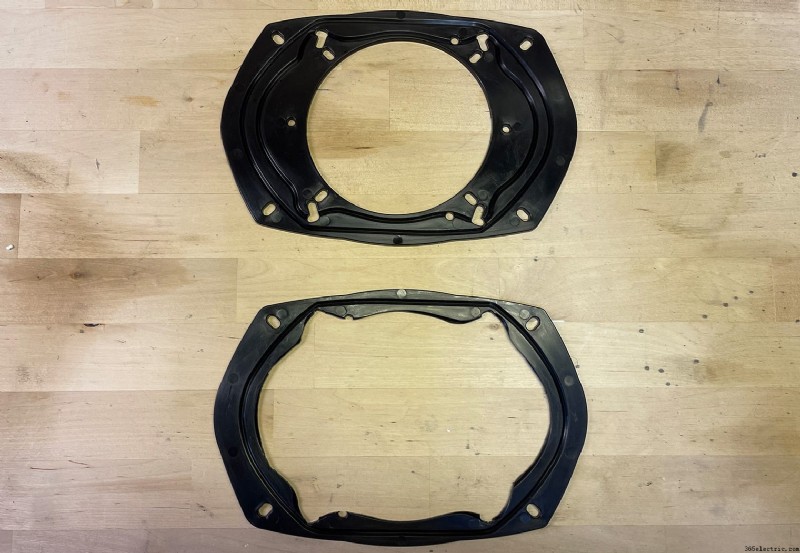
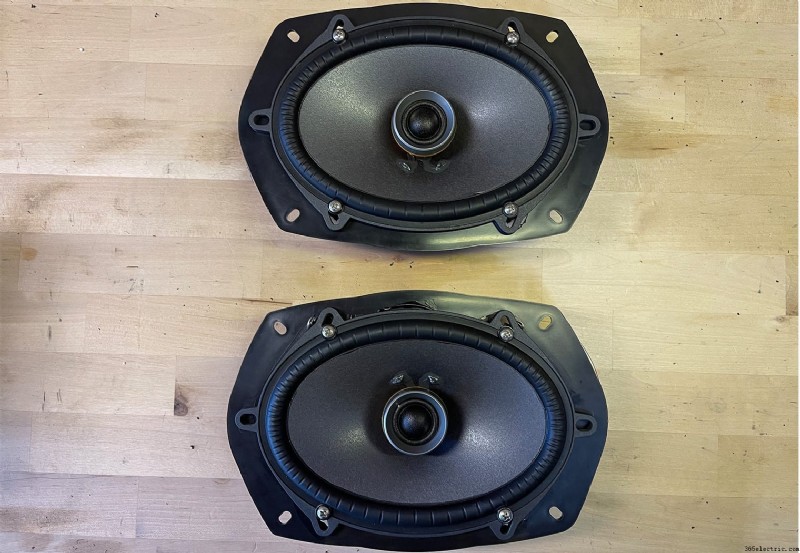
Once that step is completed, you can just mount the 6×8 and its adapter straight to the 6×9 opening. Again, if you're installing a 6×9 in the rear you can disregard the adapter plates and this added step. Here's the end result.
Step 5:Re-Install Door Panel
With your speakers installed in the rear door panels, turn on your stereo first to test out the sound of your speakers and ensure that everything is working as expected. If everything sounds good, re-install the door panels in the reverse order as described in step 1.
Conclusion
Overall, this installation was pretty straight forward and easy to do. The hardest part was fitting these high performance Sony speakers into the OEM mounting location since the frame of the speakers is wider than the OEM 6×9 speakers. An alternative to cutting out the OEM mounts like I did would be to try a set of 6×9 inch mounting spacers. I didn't try this but it's pretty common and might resolve the frame width problems a bit. Without this modification, it would have cut out an hour or so of my time. The installation, in general, is a perfect DIY for a Saturday and should be doable for even a novice.
After the speakers were installed, wow what a difference. Significantly cleaner, louder, fuller sound than the OEM speakers. I was really surprised with the volume and sound quality with just the head unit power from Sony's XAV-AX8100 too. This wasn't an amplified system and I don't think I really want to amplify it after hearing it. Combined with Sony's XS-AW8 that I previously installed under the driver seat, this is a really great setup that's ideal for a DIYer!
